This last summer I got to help with a few projects for my brothers' wedding! They had a very fun vintage themed wedding with a touch of retro 1950's flair mixed in. And in our family, we are BIG into DIY as that is half the fun! In the spring I decided to try making a swing myself when I saw this old piece of 2 x 6 in the garage. It was even dirtier than that but I cleaned it up a bit leaving just enough dirt to maintain the character of the wood.
The items I used for this project:
- 1 2x6x24.5 inch board I un-buried from the garage! (Trash to treasure woohoo)
- A table drill machine to cut holes
- 2 15 ft rustic traditional styled 5/8 inch rope from Home Depot (this will vary depending on where you are going to hang it so always measure first!)
- Some fake wired flowers brought out of retirement from the basement (re-purpose!)
- Safety goggles
- Working gloves
- Sand Paper
- Tape for the end of the rope (so it doesn't unravel)
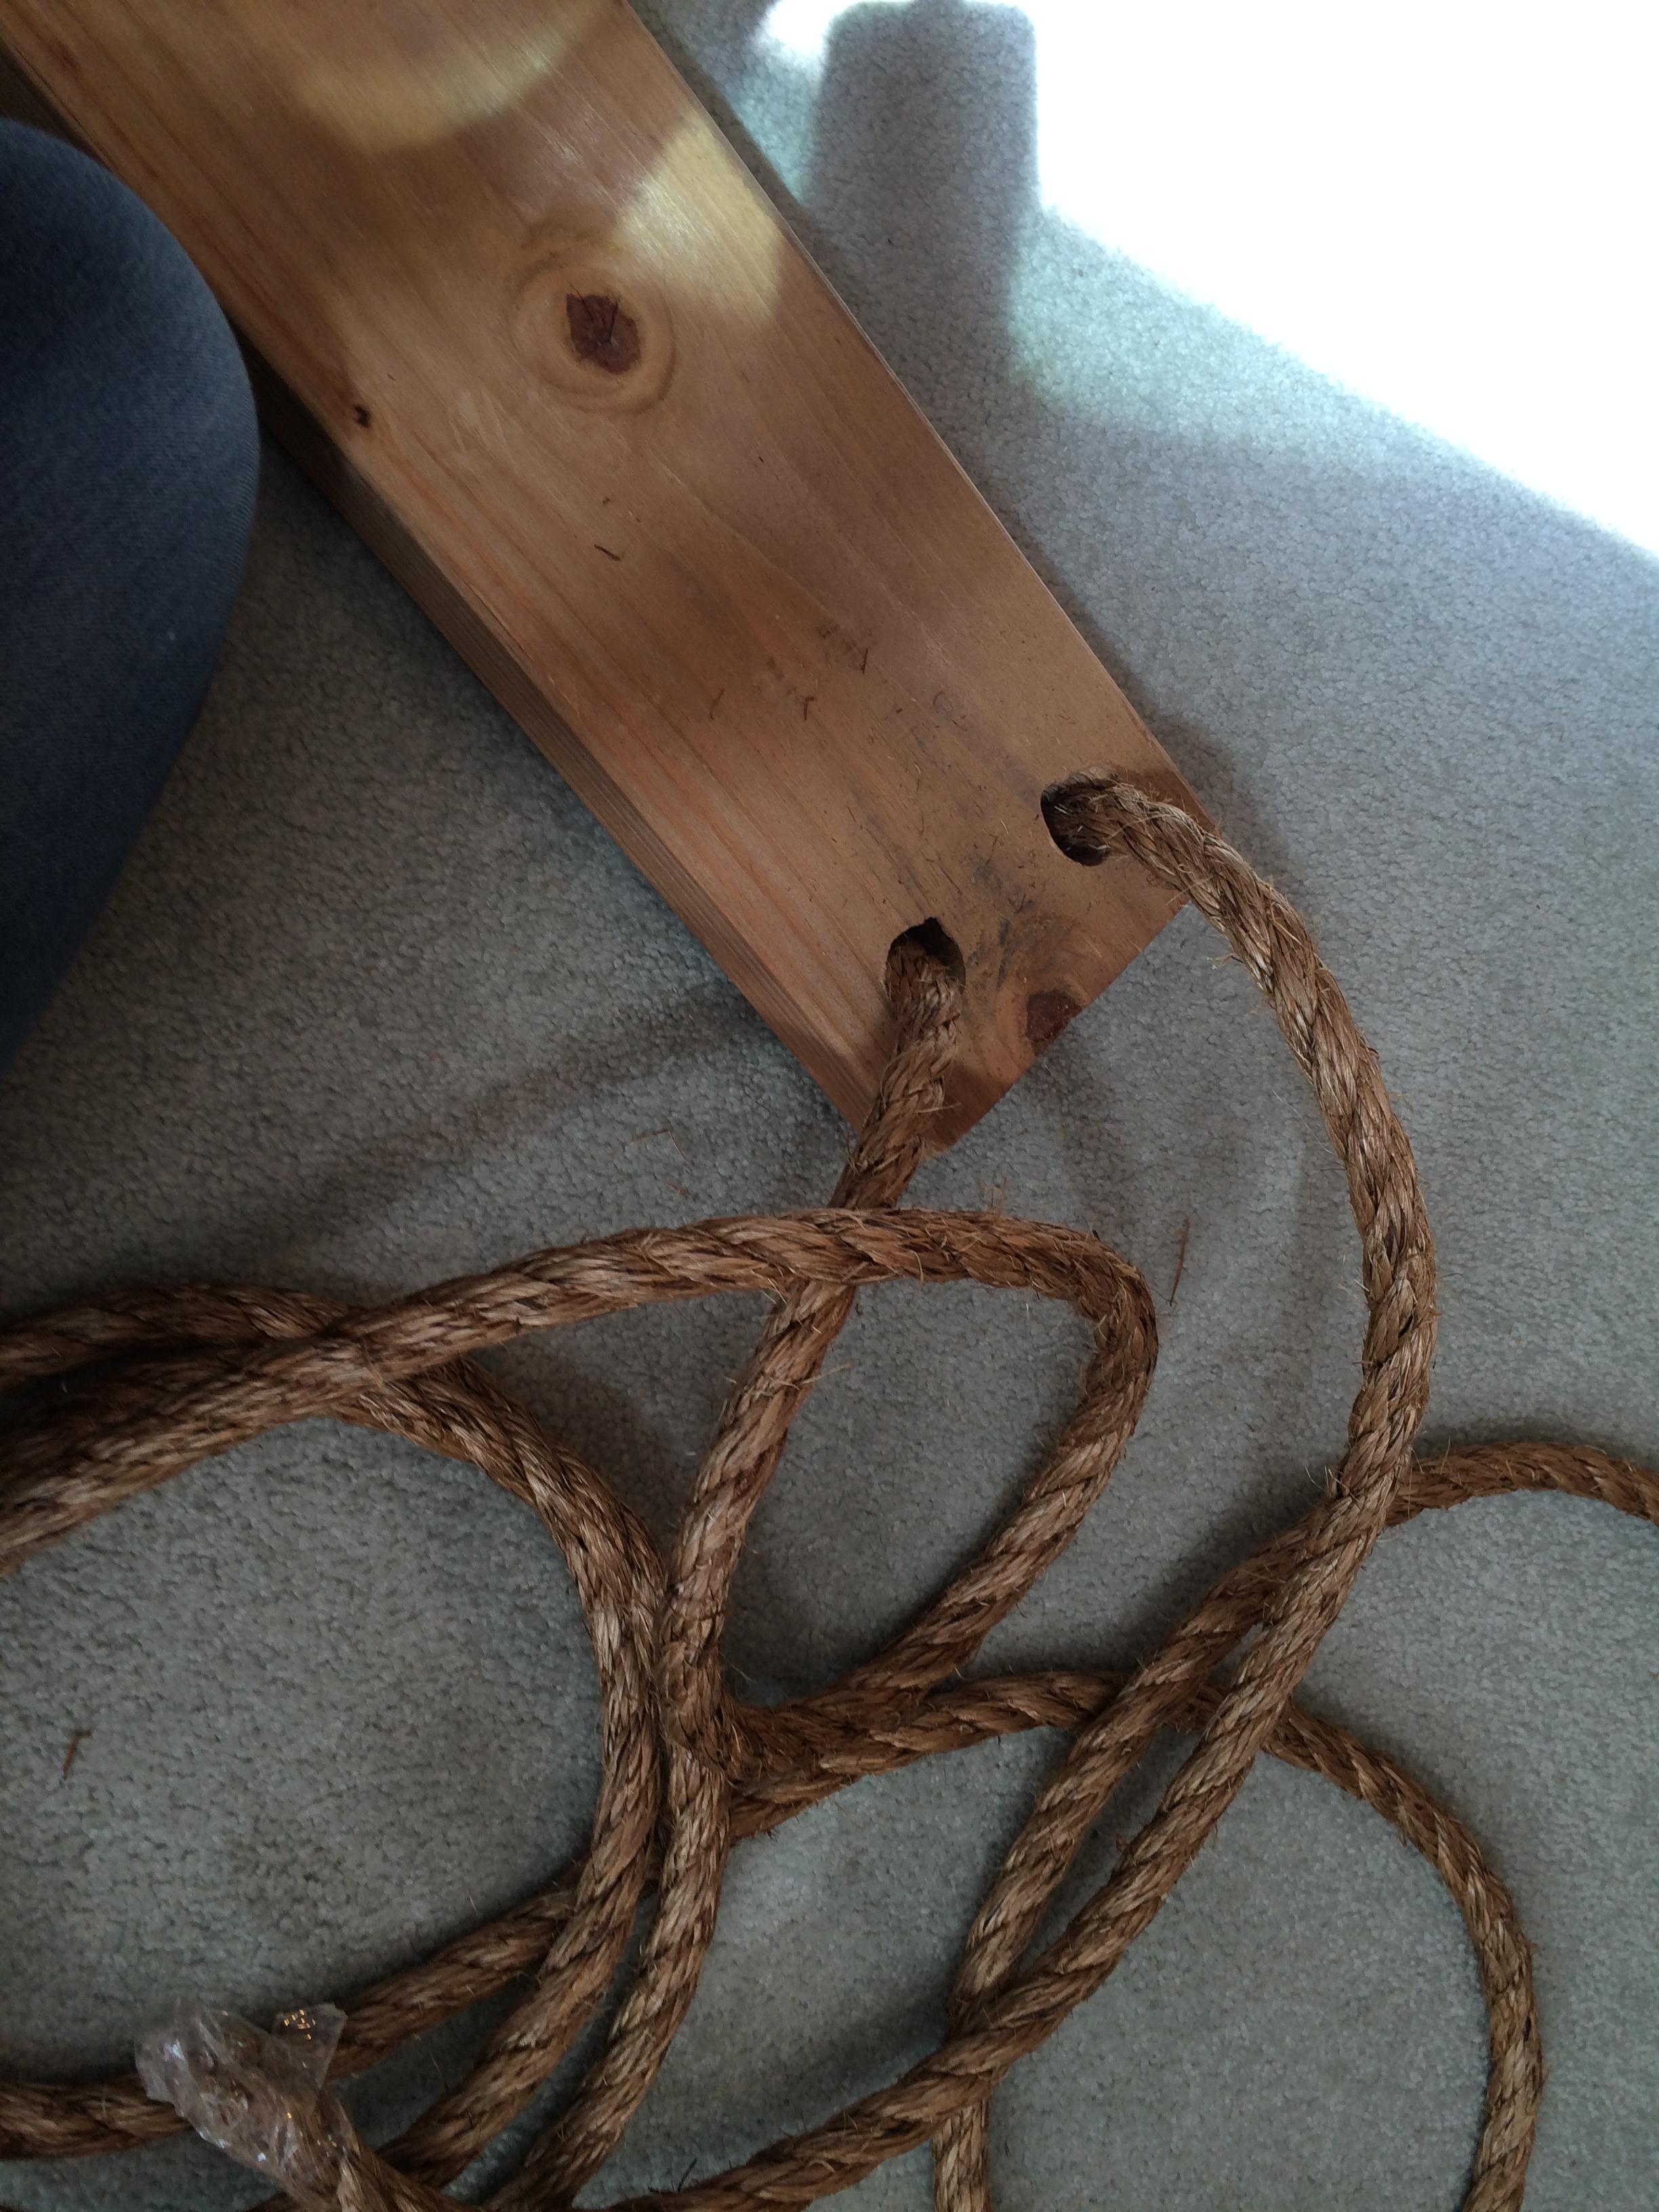
The table drill that I was using worked ok but took a little longer than I would have liked as I was working with a 3/4 inch drill. So being cautious and slow with my drill, I drilled multiple holes together then blended those holes together and tested the rope until it was big enough! I was able to clamp the board to the table while drilling through it (a MUST!) to be safe. Even with this, I ended up breaking through one drill bit.

Here is a helpful article about how to tie a bowline knot for a tree swing and how to tie it over the tree limb. We ended up twisting it through 3 times. Once the rope was tied we wove the flowers around the rope. The flowers did have wire so that is what we used to secure it. Loop locks or a few inches of wire are good substitutes if the flowers you are using do not have wire in them. Be sure to tuck any wire ends in so they do not poke anyone!

The end of the rope was tucked in tightly to hide it and we may have even used our flowers to help. It is important to use tape attached to the end of the rope so that it does not unravel as you are experimenting with stringing it through the hole and tying the knot.
Helpful hint: For best results and for safety, only tie the swing to a tree limb that can sustain the weight of the swing and any persons in it. (always test it first!) The limb we hung it on was already prepared with a mount from previous backyard swings. Also, note that a limb most parallel to the ground will work best. And it should be several feet away from the trunk of the tree and surrounding objects to avoid injuries when swinging. (if being used outside of portraits)

Photo by Effervescent Media Works
This swing was not only a fun set piece for their vintage whimsical bride and groom portraits, but the children at both receptions loved it and played with it throughout.

Inspiration for this project: Sometimes I just see an old item and instantly have a vision of something that I could use it for. Especially if that item looks perfect for it, such as the piece of wood I found in the garage that was already the right size, shade, etc... all it needed was some holes drilled into it. I had always wanted to do a tree swing shoot as that was a favorite pass time as a child at my grandmothers in her backyard. Another time I did an engagement session with the hometown vintage Pickett fence feel was with Kandace and Clayton. They had the cute vintage chic styled wedding and their garden styled engagements had some swinging fun in them.
Have you done pictures with a swing? Did you make it yourself? Share the results! Comment below. Be sure to subscribe for more DIY inspiration for weddings, lifestyle and more:)
Leave a comment